As I stepped into my backyard, the barren patch of earth seemed to whisper possibilities. I’ve always dreamed of a lush vegetable garden. But the rocky soil and persistent weeds had thwarted my efforts. That’s when I discovered the magic of raised garden beds.
Raised garden beds are perfect for both new and experienced gardeners. They let you control the soil quality and protect your plants from pests. They also make your garden look great and are easier on your back. Whether your yard is big or small, a DIY raised bed can work for you.
Building your own raised garden bed is a rewarding project that can be done in a weekend. With the right materials and some effort, you’ll soon be growing your own fresh vegetables, herbs, and flowers. I’ve built over 40 raised garden beds and I’m excited to share my knowledge with you.
In this guide, we’ll cover planning, building, and maintaining your raised garden bed. You’ll learn how to pick the perfect spot, choose materials, and fill your bed with nutrient-rich soil. Let’s start your journey to growing your own food!
Key Takeaways
- Raised garden beds offer better soil control and pest protection
- They can be customized to fit any garden space
- DIY construction is achievable with basic tools and materials
- Proper planning is crucial for long-term success
- Raised beds are ideal for growing vegetables, herbs, and flowers
- Regular maintenance ensures a bountiful harvest
Planning Your Raised Garden Bed
Starting a raised garden bed requires careful planning. Think about sun exposure, bed size, and materials. These elements are key to designing the perfect raised bed for your garden.
Choosing the Right Location
Choosing the right spot for your raised bed is key. Look for a spot that gets at least 8 hours of sunlight a day for the best plant growth. South-facing spots in the northern hemisphere get the most sun. Make sure to avoid areas with shade from nearby buildings.
Determining Size and Layout
Think about how big your raised bed should be. A size of 4 feet wide makes it easy to reach from both sides. Lengths of 8-10 feet work well too. Raised beds can fit many garden. For example, a 4×8 bed can hold onions, tomatoes, peppers, leafy greens, cucumbers, root vegetables, and herbs.
Selecting Materials
Pick strong materials for your raised bed. Cedar and pressure-treated wood are good choices because they last a long time. The wood you choose affects how your bed looks and how long it lasts. Here’s a comparison:
| Wood Type | Durability | Cost | Eco-Friendliness |
|---|---|---|---|
| Cedar | High | Higher | Very Good |
| Pressure-Treated | High | Lower | Good |
The depth of your bed is important. Leafy greens and herbs need 6 inches of soil. Tomatoes and squash need 12-18 inches. Plan these details well to make a successful raised garden bed that grows well.
Essential Tools and Materials
Building a raised garden bed needs certain tools and materials. You’ll need a power drill, measuring tape, and a miter saw or hand saw for cutting lumber. Cedar is great for outdoor use because it doesn’t rot easily.
Choose 2×6 boards for the sides and 4×4 posts for corners. For a 2′ x 4′ bed, you’ll need four posts, two sides, two fronts, and two backs. Use deck screws instead of nails because they hold better and are easier to use.
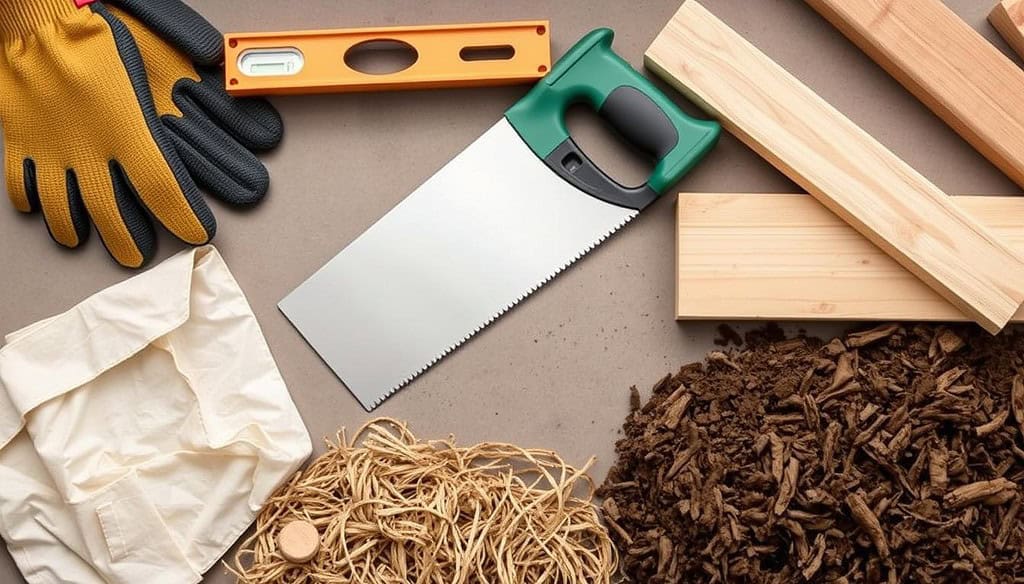
To keep pests away, think about using hardware cloth or chicken wire. Landscape fabric or packing paper can stop weeds from growing. Buying soil in bulk saves money, especially for tall beds.
If you’re new to DIY, raised bed kits have pre-cut wood and all the hardware you need. Or, you can get creative and use old items for your garden beds.
| Tool/Material | Purpose |
|---|---|
| Lumber | Main structure of the bed |
| Miter Saw | Cutting lumber to size |
| Power Drill | Securing boards with screws |
| Measuring Tape | Ensuring accurate dimensions |
| Hardware Cloth | Pest protection |
With these tools and materials, you’re set to build your raised garden bed. The hard work now will lead to a beautiful garden in a few weeks.
How to Build a Raised Garden Bed
Building raised garden beds is a rewarding project that can change your outdoor space. This guide will help you make a sturdy and lasting garden bed step by step.
Preparing the Ground
First, pick a spot that’s level for your raised bed. If it’s not even, use paver sand or gravel to make it flat. This is key for good drainage and keeping your garden bed stable.
Assembling the Frame
Next, cut lumber to fit your bed’s size. A 4-foot by 8-foot bed is a good choice because it uses 8-foot lumber easily. Use untreated 2-by-4s for a DIY project that takes about a day. Attach boards to corner supports and use metal brackets for extra stability.
Installing Support and Lining
Line the bed’s bottom with landscape fabric to stop soil from washing away. For pest control, add hardware cloth on top. If your bed is long, put in center supports to stop it from bending. Cover the inside walls with landscape fabric to protect the wood and keep soil from staining it.
Adding Soil and Finishing Touches
Put your bed in its final spot. Put cardboard at the bottom to block weeds. Fill it with good soil – veggies need about 10 inches of it to grow well. A 4-foot by 8-foot by 10-inch bed needs about 27 cubic feet of soil. With your raised bed ready, you can start planting your favorite veggies, herbs, or flowers.
“Raised bed gardening lets you control soil additions like compost and fertilizers. This makes it easier to create the perfect spot for your plants.”
Filling Your Raised Bed with Quality Soil
Choosing the right soil mix is key for your raised garden bed’s success. Mix garden soil, compost, and organic materials for the best growing conditions. Aim for a depth of at least 12 inches in your raised bed for healthy root growth.
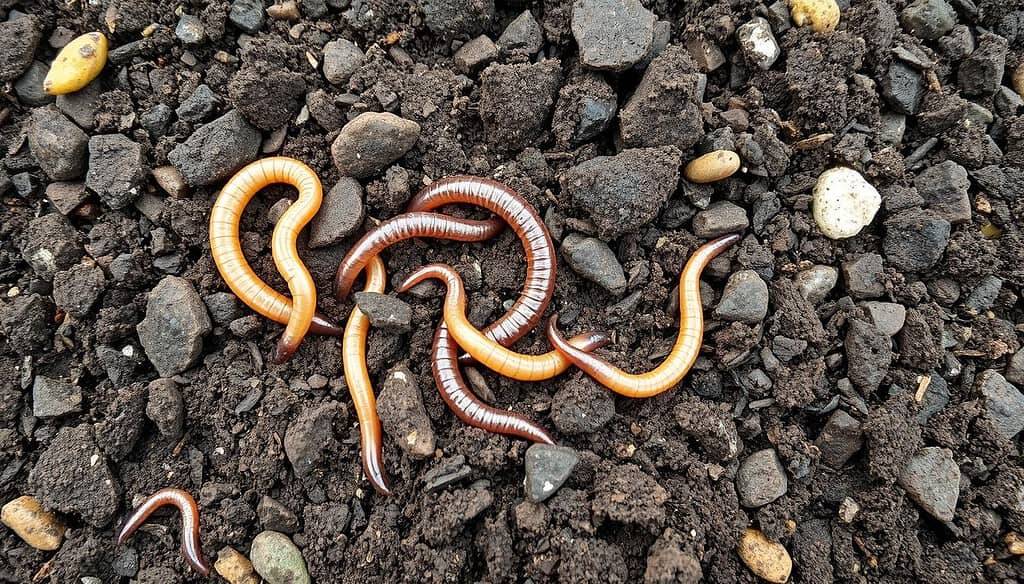
For filling your bed, combine 45% compost, 45% topsoil, and 10% sand. This mix offers nutrients, structure, and good drainage. For a 4x4x16 cedar raised bed, you’ll need about 4 bags of organic topsoil and 4 bags of raised bed mix. A soil calculator can help figure out how much you need for your bed size.
Don’t fill the bed all the way up. Leave some space for adding soil later and for settling. Raised beds dry out faster than ground gardens, so you might need to water more often when it’s dry. Adding materials like:
- Grass clippings
- Leaves
- Coffee grounds
- Straw
can help with moisture and soil structure over time. Wait a week or two after filling before planting. This lets you see if you need more mix. Every spring, add fresh soil and compost to keep your bed in top shape.
Maintenance and Care Tips
Looking after your raised garden bed is key to a great harvest and a long-lasting garden. Let’s dive into the must-do maintenance steps to keep your garden in top shape.
Watering and Irrigation
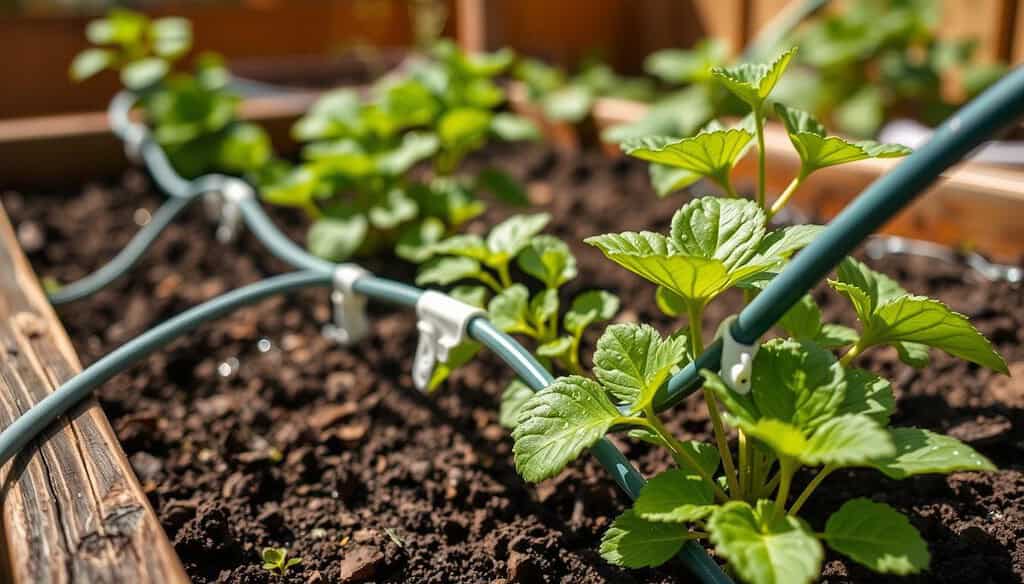
Getting your raised beds the right amount of water is vital. Put in a soaker hose over the soil before you plant for even watering. This method is cheaper than drip irrigation and works well. For narrow beds, soaker hoses or drip systems keep plants dry in hot weather.
Smart watering tools can alert you on your phone when it’s time to water. Water your bed when the top inch of soil feels dry. Raised beds drain quickly because of gravity.
Weed Control
To stop weeds, put cardboard and composted manure under your soil before adding more dirt. Add a 2- to 3-inch layer of mulch to cut down on watering and weeding. Pull weeds right away to stop them from spreading. A weed barrier like landscape fabric can also help reduce weeds.
Seasonal Care
Looking after your garden all year is crucial for a successful raised bed. In the south, use shade cloth to shield plants from the strong afternoon sun. In the north, you can start planting earlier since raised beds warm up quicker.
Feeding your plants well is important, especially in raised beds where they’re close together. Check on your plants every day to spot pests or diseases early. For longer growing seasons, cover your bed with clear plastic to make a cold frame.
| Season | Maintenance Task |
|---|---|
| Spring | Add fresh soil, plant early crops |
| Summer | Regular watering, pest control |
| Fall | Harvest, prepare for winter crops |
| Winter | Protect beds, plan for spring |
Conclusion
Building a DIY raised garden bed is a great way to improve your garden and grow a healthy vegetable garden. It lets you save money and use your outdoor space better. Planning your vegetable garden layout helps plants grow well.
A 4’×8′ raised bed gives you 32 square feet for growing things like lettuce, spinach, carrots, and eggplants. You can make this bed with untreated pine boards for about $30, which is a smart choice for gardeners. Your raised garden should get 6-8 hours of sunlight a day for healthy plants.
Fill your raised bed with a mix of compost, topsoil, vermiculite, and worm castings for nutrients. This mix helps your plants grow strong. Follow the right spacing and plant together to keep pests away and grow bigger plants. With the right care, your DIY raised garden bed will give you fresh, organic food. This saves you money and makes you feel more independent. Raised garden beds help you control the soil quality. They protect your plants from pests and make gardening easier on your back. They also look great and can fit any garden size. Put your bed in a spot that gets lots of sun, usually south-facing in the northern hemisphere. Make sure it’s far from buildings to avoid shade. Pick a size that’s easy to reach and fits your space. The bed should be no wider than 4 feet and 8-10 feet long. Use cedar or pressure-treated lumber for your bed. It’s durable and will last a long time. You’ll need a miter saw or circular saw, a power drill, and a measuring tape. Optional tools include a table saw. For materials, gather lumber, deck screws, weed-blocking fabric, gopher-proof hardware cloth, mending braces, and a non-toxic wood sealer. Level the ground with paver sand or gravel before placing the bed. Cut lumber to the right size and attach boards to corner supports. Use metal brackets for extra stability. Fill the bed with top-quality soil rich in nutrients. Mix in garden soil, compost, and other organic stuff for the best growing conditions. Set up a drip irrigation system for watering. Add irrigation risers inside the bed before filling it with soil. Use weed barriers like landscape fabric or cardboard to keep weeds away. Do regular checks and upkeep, like adding new soil, pruning, and controlling pests. Refresh the soil every year to keep nutrients and structure good. FAQ
What are the benefits of using a raised garden bed?
Where should I place my raised garden bed?
How do I determine the size of my raised garden bed?
What materials should I use to build a raised garden bed?
What tools and materials are needed to build a raised garden bed?
How do I prepare the ground for a raised garden bed?
How do I assemble the frame for a raised garden bed?
How do I fill a raised garden bed with soil?
How do I water and irrigate a raised garden bed?
How do I control weeds in a raised garden bed?
What maintenance is required for a raised garden bed?




12 Comments
Wow, who knew that rocks and weeds could be defeated by simply…building something on top of them. Genius! But seriously, thanks for the info.
@RockySoilGuy lol yeah right?? like why didnt I think of that before 😂
I built one of these last weekend, thought it would take a day…took two days and a half, but totally worth it! My tomato plants are already thriving!
@JaredTheBuilder Oh wow!! I wish I had that motivation 😩 I barely built mine and it’s just sitting there empty lmao.
@JaredTheBuilder Ha, same here! But trust me, the tomatoes will taste SO much better from those beds!
*sigh* If only my life was as organized as this guide makes gardening seem… Maybe I’d actually remember to water the plants 😅.
@GreenThumbedTom123 bending down is overated anyway lol
@_GardenGoddess_ haha same here! at least with raised beds i won’t have to bend down much tho!
Raised beds? Really? Just an excuse to charge more for soil and wood. I’ll stick to good ol’ digging in the ground like our ancestors did.
@JustBobby lol ok boomer some of us like not having back pain while gardening 🙄
@JustBobby except now the ground has more weeds and pests than ever… I’ll take the raised bed any day!
This was sooo helpful! I alway strugled with my garden but now i know how to build a raised bed 🙂 thx for all the tips. can’t wait to try this weekend.