As the autumn air gets chilly, you might find yourself dreaming of warmth at home. I’ve been there, freezing through winter and seeing my heating bills soar. That’s when I took action. As a contractor, I’ve seen how outdoor heating systems can change everything, bringing warmth efficiently and saving money.
Outdoor heating systems, like outdoor wood boilers, are getting more popular for heating homes and shops. These systems use forced air furnaces to spread heat. They work with a fan and can be set to keep temperatures steady with a thermostat.
A key part of these systems is the water-to-air heat exchanger. It moves heat from outdoor boilers to indoor air systems. Good exchangers have coiled copper tubes with aluminum fins. This setup cuts down on resistance, making sure the system works well.
When looking at outdoor heating systems, knowing the flow rates needed is important. For example, the HeatMaster SS “G-Series” furnaces have different needs. The G100 wants 8 gpm, the G200 needs 14 gpm, and the G400 requires 30 gpm. These specs help your system run efficiently.
Heating needs vary, and so do the temperatures needed. For instance, water heat exchangers and hot water baseboards work best between 140°F and 180°F. Floor heating systems do well between 80°F and 130°F. Knowing these details is key for a successful DIY installation.
Key Takeaways
- Outdoor heating systems offer efficient and cost-effective home heating solutions
- Forced air furnaces are popular for distributing heat in homes and shops
- Water-to-air heat exchangers are crucial for transferring heat from outdoor boilers
- Different furnace models have specific minimum flow rate requirements
- Various heating loads need different design temperatures for optimal performance
- DIY installation requires understanding of system components and specifications
Understanding Outdoor Heating Systems
Outdoor heating systems make your outdoor areas warm and cozy. They come in different types, each with its own benefits. Let’s look at the main parts of outdoor heating systems to help you choose the right one for your home.
What is a forced air system?
A forced air system is a common heating option that uses fans to spread heated air through ducts. It depends on a thermostat to keep your home at a steady temperature. When the temperature goes down, the heating unit turns on, keeping you comfortable.
Benefits of outdoor wood boilers
Outdoor wood boilers have many perks for homeowners:
- They can save money on heating bills
- Let you use wood you have as fuel
- Lower the risk of indoor fires
- Can heat more than one building
It’s wise to put an outdoor wood boiler 30 to 50 feet away from your house for safety and efficiency. This keeps smoke away from your home but still transfers heat well.
Key components of an outdoor heating system
An outdoor heating system has key parts:
- The boiler heats the water
- The water-to-air heat exchanger transfers heat from water to air
- Insulated underground pipes carry heated water
- Circulation pumps keep the water moving
- The thermostat controls the system
For heating outdoor areas, radiant heat is often best. It warms objects directly and fights against wind, making it perfect for open spaces.
When picking an outdoor heating system, think about your space, utilities, and costs. Electric heaters are simple to set up and run, while natural gas heaters might save money over time. For the best coverage, consider one heater for every 100 square feet of patio.
Planning Your Installation
Proper planning is key to a successful outdoor heating system installation. Let’s dive into the crucial steps you need to take before setting up your outdoor furnace.
Choosing the Right Location
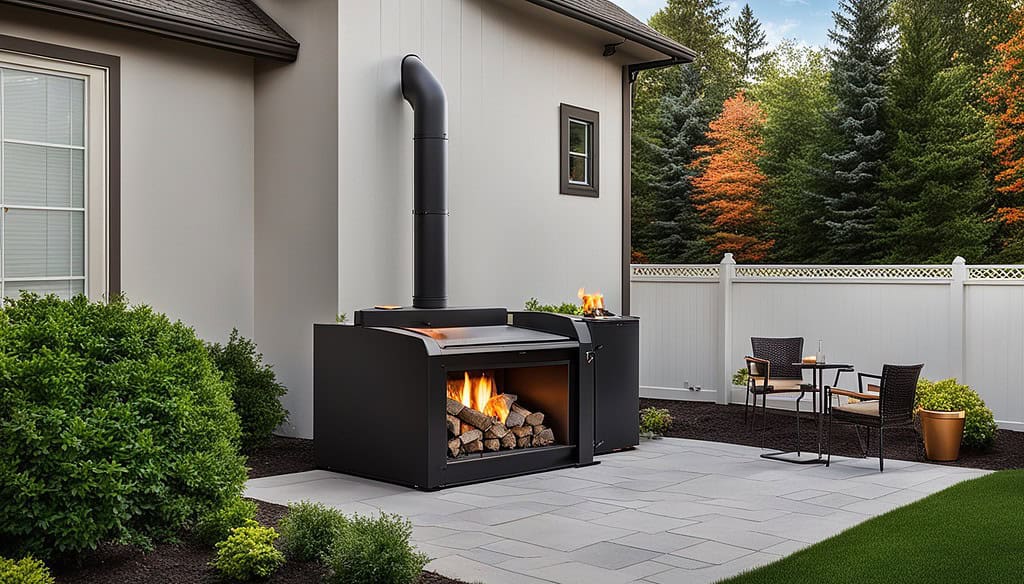
Choosing the right spot for your outdoor furnace is vital. Make sure it’s away from windows, doors, and anything that could catch fire. Think about the wind direction and how easy it will be to get fuel and do maintenance. The right spot means your furnace will work well and safely.
Preparing the Site
Getting the site ready is crucial for a solid installation. Remove any flammable stuff and make the ground level. Most outdoor furnaces need a concrete base for stability and to keep out moisture. Make sure your base meets the maker’s rules.
Checking Local Codes and Regulations
Before you start, learn about local rules and codes. These can tell you how far you have to be from property lines and buildings. Talk to your insurance company for any special rules. Following the rules keeps you safe and avoids legal trouble.
Don’t forget about electrical needs. You’ll need power for the furnace’s controls and pumps. Think about where to put underground PEX pipes and how they connect to your current HVAC system. Planning these things makes the installation go smoothly.
Remember, forced-air furnaces are common in the U.S., but outdoor wood boilers are great for rural homes. They might cost more at first, but they can save you money on heating over time.
When picking a heating system, know that natural gas is usually cheaper than electricity for heating. But, installing different systems costs vary by type and your home’s size. For outdoor patio heaters, propane ones cost between $99 and $1,100, and natural gas ones are $700 to $1,300.
How to Install an Outdoor Heating System
Installing an outdoor heating system is a big job. First, get the site ready for your wood boiler. Make sure the foundation is level for the boiler. Then, start the installation by setting up the boiler and connecting it.
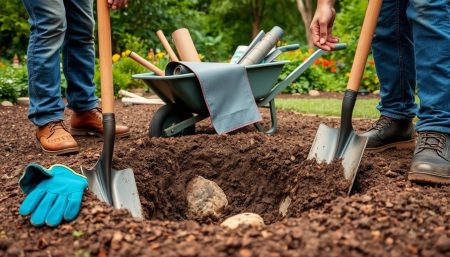
For the underground PEX, dig a trench that’s at least 24 inches deep. This keeps the pipes safe from freezing. Use 1″ insulated PEX pipe for carrying heated water from the boiler to your home. For bigger homes, go with 1-¼” pipe to get more BTUs, as it can handle up to 37% more.
Connect the boiler to your home’s heating with a bypass valve system. This includes 3 valves, 2 T’s, and unions at each heat exchanger. It makes fixing problems like a clogged heat exchanger easy. For water-to-air heat exchangers, put them at least 2″ above air conditioning coils to avoid ice problems.
Think about getting a filter kit to protect your system from sediment. Sediment often damages outdoor wood boilers, and you might need to replace heat exchangers in 3 to 7 years. A full filter kit with bypass can stop this damage.
| Component | Specification | Purpose |
|---|---|---|
| Underground PEX | Minimum 1″ diameter | Water transfer from boiler to home |
| Plate Heat Exchanger | 20-100 plates, 5″ x 12″ | Domestic hot water, indoor heating |
| Filter Kit | Includes bypass | Prevent sediment damage |
Always check local codes and rules before installing your outdoor heating system. Doing it right means your outdoor wood boiler will work well and last longer.
Underground PEX Installation
Setting up your outdoor heating system starts with underground PEX installation. This includes digging trenches, laying pipes, and making connections. Let’s look at the key steps of this phase.
Digging the Trench
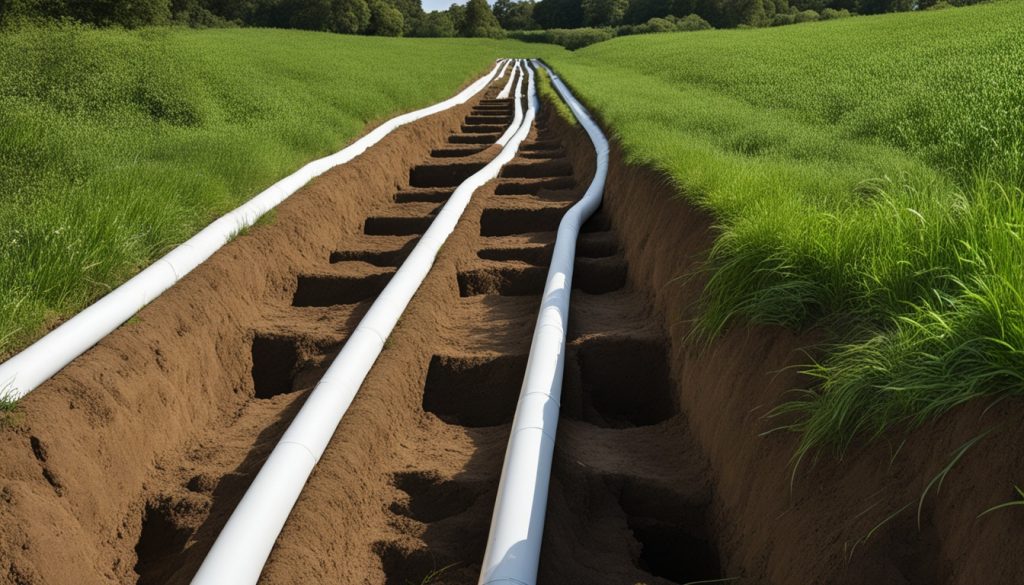
First, dig a trench for your PEX installation. Make sure it’s at least 24 inches deep to keep pipes from freezing and getting damaged. Plan to add about 10 extra feet of PEX tubing for easy handling. Also, keep electrical lines at least 6 inches away from your PEX pipes to avoid problems.
Laying and Connecting PEX Pipes
Avoid underground connections to prevent leaks when laying PEX pipes. Try to use continuous pipe lengths. PEX pipes can stretch up to 150-200 feet or more for outdoor wood boilers. Installing it right is crucial – insulated PEX can last decades with little heat loss. Make sure fittings fit well on the tubing to stop leaks.
Pressure Testing and Backfilling
Do a pressure test before filling back to check for leaks. Once the system checks out, start backfilling with care. Use clean fill or sand without big rocks – they could harm your PEX pipes. This careful method will help your outdoor heating system work well for many years.
Connecting the Outdoor Wood Boiler
Setting up your outdoor wood boiler is key to a warm home. Many people do it themselves, with 80-90% of customers taking on the task. Let’s look at the main steps to follow.
Setting up the boiler
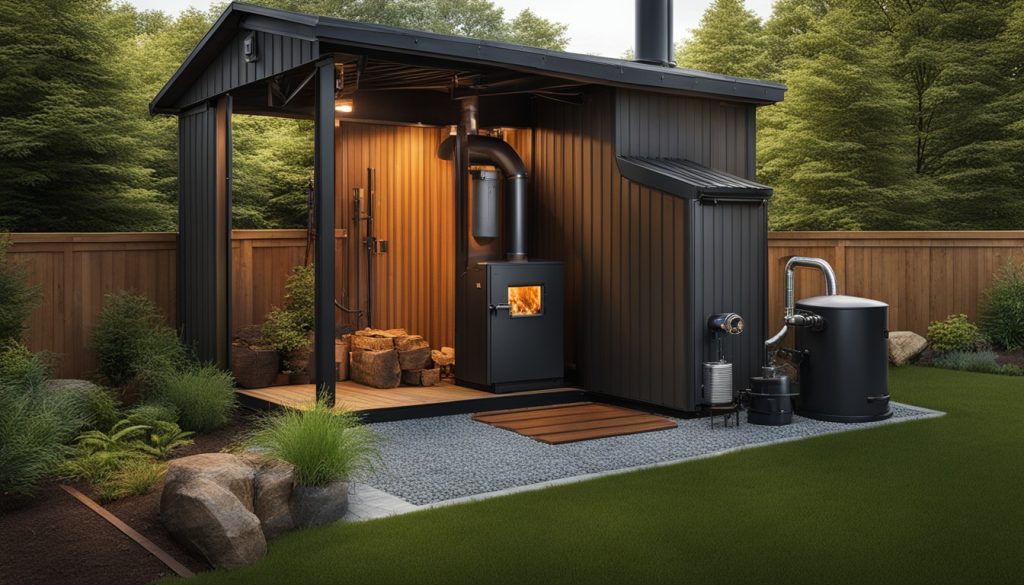
First, pick a good spot for your outdoor wood boiler. It should be about 40 feet from your house for safety and ease. Make sure the ground is level and there’s enough space around it. Also, check local air quality laws to avoid smoke problems.
Installing accessories and chimney
Then, focus on adding accessories and setting up the chimney. Put in water gauges, pressure relief valves, and other parts as the maker says. The chimney must be the right size and long enough for good airflow. For power, use a 12/3 wire for lights, the unit’s power, and a fan.
Connecting to home heating system
The last step is linking your outdoor wood boiler to your heating. Dig a trench 24 inches deep and 6 to 12 inches wide for wires and water lines. Use insulated PEX piping underground, keeping it below the frost line (about 12 inches). For forced air systems, add a water-to-air heat exchanger in the furnace area. Over 40 different sizes of heat exchangers fit various furnace sizes.
| Component | Approximate Cost | Notes |
|---|---|---|
| Installation Parts | $650 | Typical cost for needed parts |
| Circuit Breaker | $8-15 | 15A circuit breaker for electrical link |
| Thermostat | $15-20 | 2-wire thermostat for fan control |
By following these steps and choosing the right materials, you can connect your outdoor wood boiler well. This will give you efficient heating at home. Always look at the maker’s manual and follow local rules during setup.
Electrical Connections and System Setup
Setting up the electrical connections for your outdoor heating system is key. You must connect the boiler to your home’s electrical panel with a dedicated circuit breaker. This step needs careful planning and following safety rules.
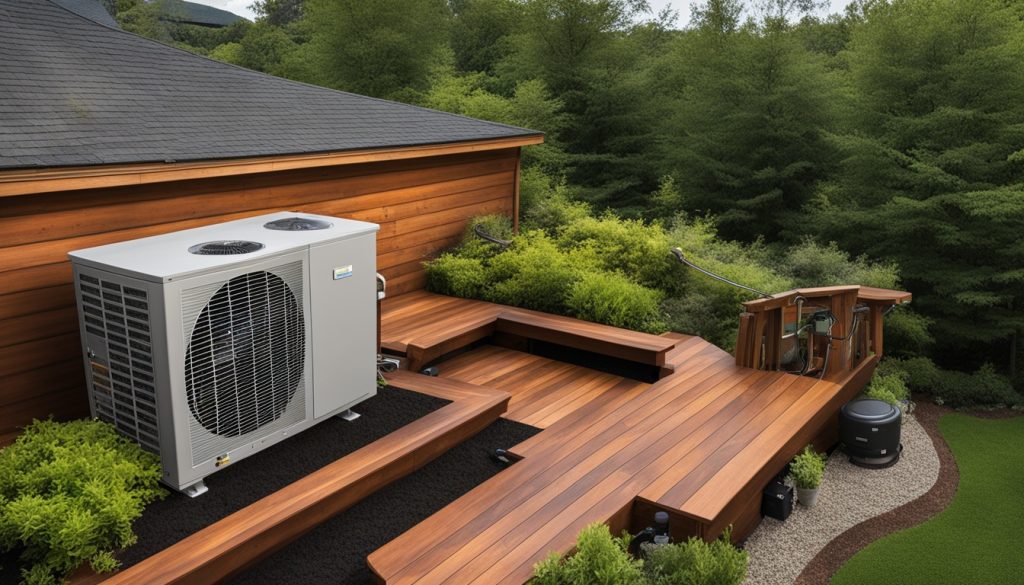
Begin by putting in a 15 or 20 amp breaker in your main electrical panel. Then, run 120V rated electrical wire from the panel to the boiler. Make sure the wiring and insulation are correct. The wire size depends on the heater’s power – use a 14-2 cable for heaters up to 2,880 watts, and a 12-2 cable for heaters up to 3,840 watts.
For setting up the system, add aquastats or extra thermostats to control your HVAC fan when the water is hot. This helps spread the heat evenly in your home. Hard-wiring a wall heater is safer than using plug-in ones, as it avoids overloading circuits.
“Safety first! Always apply for a local electrical permit before starting the installation. This ensures an inspector checks your work for safety standards.”
Installing an outdoor heating system with electrical connections is a bit complex. It might take a few days to finish, and it could cost between $101 and $250. If you’re not good with electrical work, it’s wise to hire a professional for this part.
| Heater Wattage | Recommended Cable | Circuit Breaker Size |
|---|---|---|
| Up to 2,880 watts | 14-2 with ground | 15 amp |
| 2,881 to 3,840 watts | 12-2 with ground | 20 amp |
Before turning on your system, check all electrical connections. Test each part to make sure it works right. With attention to detail in electrical connections and setup, you’ll enjoy efficient and safe outdoor heating.
Conclusion
Installing an outdoor heating system can be a rewarding DIY project. It makes your home more comfortable and efficient. These systems use renewable fuels like wood, pellets, or corn, which is better for the environment. With the right setup and upkeep, they can save you a lot on heating costs over time.
Doing it yourself has clear advantages. One homeowner saved about $6000 by putting in a heat pump themselves, spending $4500 on materials. This cut their yearly heating and cooling bills from $951 to $275, saving $676 a year and offering a 15% return on investment. This makes outdoor heating a smart choice for those watching their budgets.
Keeping an eye on your system and regular maintenance are crucial for its best performance and life span. Tasks like cleaning the firebox and chimney, checking water levels, and watching system efficiency help keep it running well. By following this guide and the maker’s advice, you can set up and maintain an outdoor heating system that brings comfort, savings, and energy efficiency to your home. A forced air system uses fans to spread heated air through ducts. This is done with the help of thermostats. They make sure the temperature stays the same all over the house. Outdoor wood boilers save money by using wood, a renewable fuel. They also let you heat your home without relying on utility companies. The main parts are the outdoor wood boiler, a water-to-air heat exchanger, underground pipes, and pumps. These work together to heat your home. Pick a spot away from windows, doors, and things that can catch fire. Think about the wind direction and how easy it is to get to. Make sure it’s far from buildings and things that can burn. First, clear the area of anything that can burn. Then, make a level concrete pad for the boiler. Check the local rules for how far it should be from buildings and flammable stuff. The trench should be at least 24 inches deep. This keeps the PEX pipes from freezing in the cold. For forced air systems, put a water-to-air heat exchanger in the plenum. For water-to-water systems, use the right plumbing and install heat exchangers as needed. Connect the boiler to your home’s electrical panel with a 15 or 20 amp breaker. Use 120V rated wire from the panel to the boiler. Add aquastats or more thermostats to control the HVAC fan. FAQ
What is a forced air system?
What are the benefits of an outdoor wood boiler?
What are the key components of an outdoor heating system?
How do I choose the right location for an outdoor furnace?
What site preparation is needed for installing an outdoor heating system?
How deep should the trench be for underground PEX installation?
How do I connect the outdoor wood boiler to my home’s heating system?
What electrical connections are required for an outdoor heating system?



11 Comments
“Forced air system” sounds fancy for just blowing hot air around lol. I’ll stick to my electric blanket, thank you very much.
@SunnyD123 you’d be saying diffrent when you get that first winter bill 😂!
Wow! so much info here.. but honestly, who reads all this?? just hire someone ppl 😂😂 No way im doing all that digging by myself!! 😬😬😬
@BuilderBob68 Some of us like the challenge man.. It aint that hard if you plan ahead!!
Such detail! Love how it gets into flow rates and thermodynamics… but like, who’s gonna dig a trench 24 inches deep just to save on heating costs? I’m gonna need a backhoe lol.
@TechyMaster Totally worth it tho if you live in cold areas! Cheaper than paying high bills every year.
@TechyMaster haha! Backhoe not included i guess 🤷♂️
LOL ‘lower the risk of indoor fires’ – so now we just have OUTDOOR fires instead? Genius 🙄
@Outdoor_Ollie exactly haha!! safer outside, and u still warm up ur home WIN-WIN
@FiremanTom33 well yea better outside than inside ur living room catching fire right?? 🤦♂️
This is super cool! I always wanted to get into outdoor heating systems. Can u imagine the coziness? 🔥 But oh my, lot of digging!!